FREESKY Blogs
Stay updated with the latest news, tips, and insights on e-bikes, technology, and sustainable riding through the FREESKY blog.


There's no item in your cart.
You May Also Like
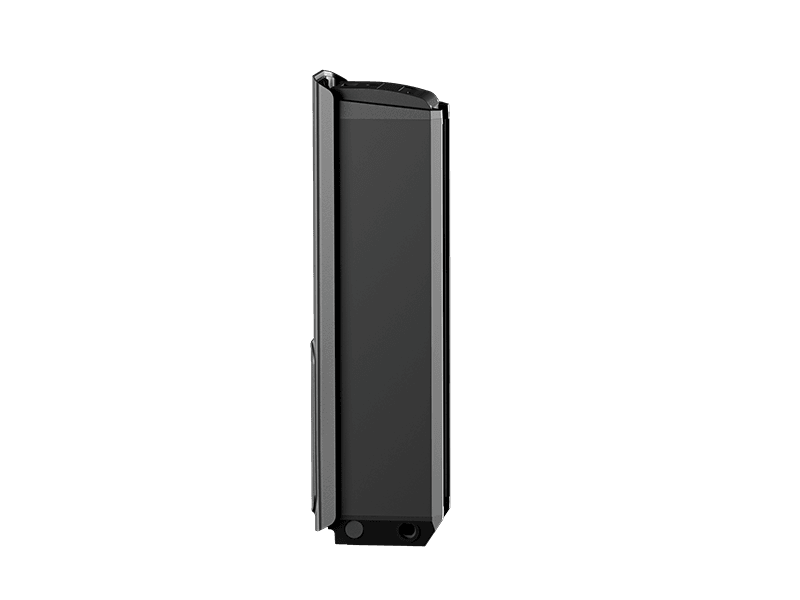
Extra Battery Pack
€600,00
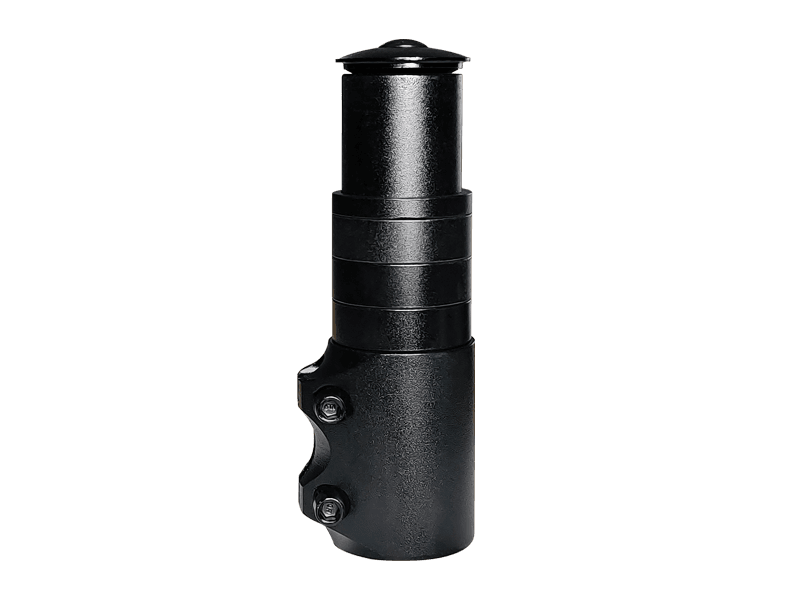
Stem Extender
€40,00
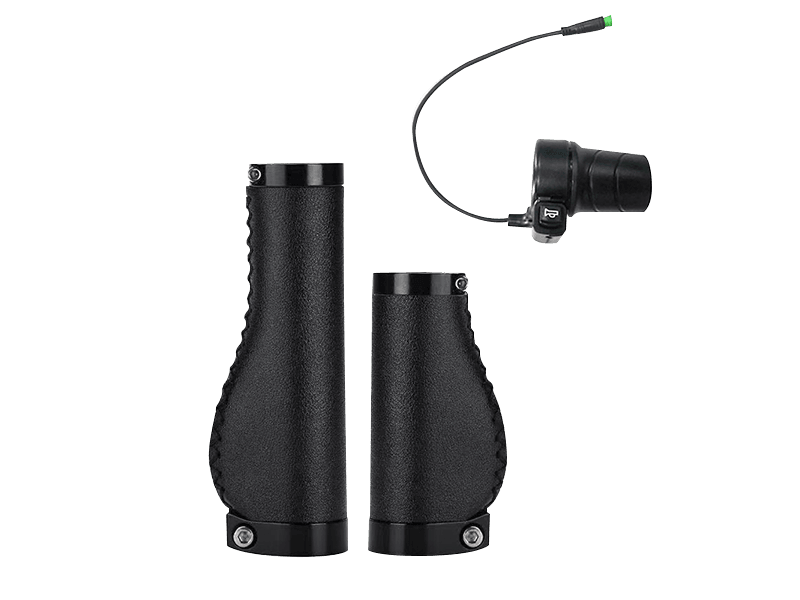
Twist Throttle with Grips
€69,00
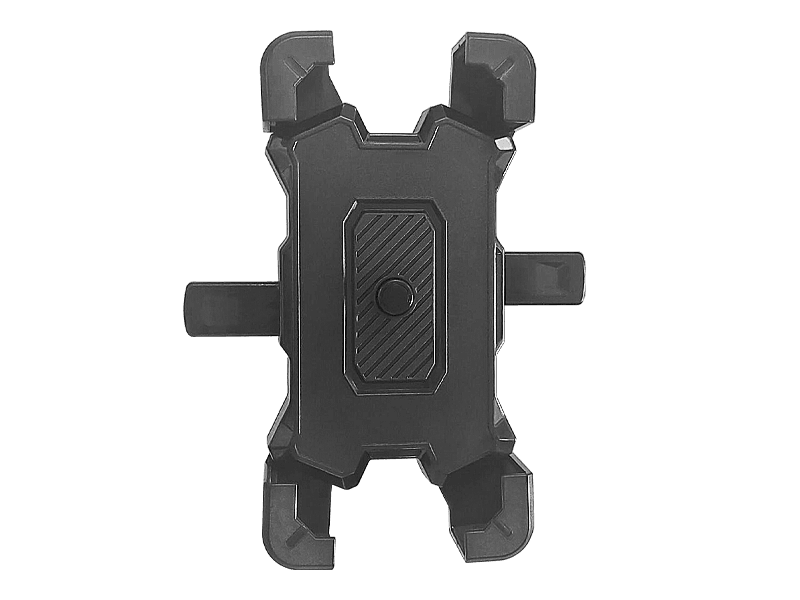
Phone Holder
€19,99
You're Saving €0,00
Shipping, taxes, and discount codes calculated at checkout.All Topics

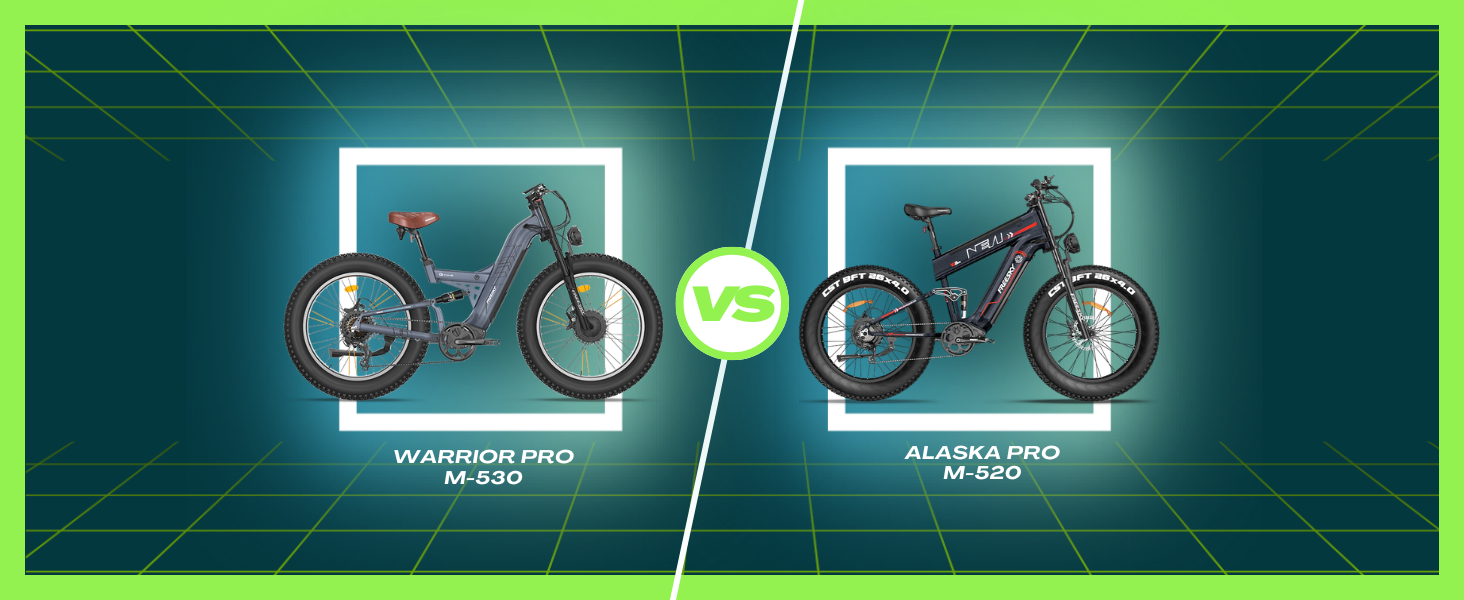
Warrior Pro vs. Alaska Pro: How to Choose the Perfect E-Mountain Bike for Your Adventure?
Apr 25, 2025 09:00
If you’re considering purchasing an electric mountain bike (E-bike) and are torn between the Alaska Pro M-520 and the Warrior Pro M-530, you’re not alone. Both models offer impressive features, performance, and quality, but they’re designed with slightly different riders and riding conditions in mind. Whether you're new to the world of electric bikes or an experienced rider, understanding the key differences between these two models will help you choose the one that best suits your needs. 1. Power & Performance: Dual Battery vs. Dual Motor Warrior Pro M-530:The Warrior Pro is all about raw power and performance. Equipped with dual motors, it provides an outstanding amount of torque, making it perfect for challenging terrain and steep inclines. With its 200Nm of combined torque, this bike delivers exceptional climbing capabilities, making it ideal for riders who prioritize power and want to conquer the toughest trails, no matter the gradient. Alaska Pro M-520:The Alaska Pro, on the other hand, is powered by a single motor paired with a dual battery system, which focuses more on range than pure performance. With 130Nm of torque, it still offers plenty of power for standard trails, but its primary strength lies in its impressive range of up to 257 kilometers on a single charge. If you’re looking to cover long distances with minimal concern about recharging, the Alaska Pro is the better option. Which to choose? Choose the Warrior Pro if you’re an adventurous rider looking for the maximum power to handle steep hills, rough terrain, and long off-road rides. The dual motors provide ample performance for any challenging conditions. Choose the Alaska Pro if you want to cover longer distances without needing to charge frequently, especially for all-day rides. Its dual battery system is the perfect solution for long-range riders. 2. Battery Life: How Far Can You Go? Warrior Pro M-530:The Warrior Pro comes with a 48V 30Ah SAMSUNG battery, providing a range of 96-152 kilometers on a single charge. This is perfect for most off-road adventures, but depending on the terrain and riding conditions, it may need a recharge for extended trips. Alaska Pro M-520:The Alaska Pro, thanks to its dual battery system (48V 41Ah), boasts an impressive 144-257 kilometers range on a single charge. This makes it the ideal choice for riders looking for long-distance adventures or those using their bike for daily commuting without worrying about running out of power. Which to choose? Choose the Alaska Pro if long range is your priority. Whether you’re commuting or planning long outdoor trips, the dual battery system will give you peace of mind, covering hundreds of kilometers. Choose the Warrior Pro if you’re more focused on power and performance than distance and are okay with recharging after longer rides. 3. Suspension & Comfort: Smooth Ride for Any Terrain Warrior Pro M-530:The Warrior Pro features a dual suspension setup with a lockable front hydraulic downhill fork and rear suspension, providing excellent shock absorption on rocky trails and downhill rides. It is designed for riders who need greater control and comfort on rougher terrains. Alaska Pro M-520:The Alaska Pro also features dual suspension but with an adjustable front suspension fork for tailored comfort. Its design allows for smoother riding on varying surfaces such as light gravel or paved roads, making it a great option for both off-road and urban commuting. Which to choose? Choose the Warrior Pro if you plan on tackling rough, rocky trails or downhill paths. Its suspension system will provide maximum comfort and control on challenging surfaces. Choose the Alaska Pro if you prefer a smoother, more adjustable ride for a mix of terrains, whether it’s rough trails or light gravel, and want more comfort on longer rides. 4. Braking System: Stopping Power Warrior Pro M-530 & Alaska Pro M-520:Both e-bikes are equipped with 4-piston hydraulic disc brakes, offering exceptional braking control. This powerful brake system ensures rapid and safe stops, even at high speeds or on rough terrains. Whether you're descending a steep slope or navigating challenging off-road trails, the braking system on both models provides smooth and reliable stopping power. With both the Warrior Pro and Alaska Pro sharing the same 4-piston hydraulic disc brakes, the braking performance is identical across both models, ensuring riders can confidently handle any riding conditions—be it mountainous trails or urban streets. This high-performance braking system delivers the necessary safety and control for adventurous mountain biking as well as commuting in the city. Which to choose? Whether you choose the Warrior Pro or the Alaska Pro, both come with the same 4-piston hydraulic disc brakes, offering superior braking performance. If you’re looking for an e-bike that can provide quick, efficient stops on rugged terrains or city roads, both options will serve you well, ensuring you stay in control in every riding scenario. 5. Who Should Choose Each Model? Choose the Warrior Pro if: You want a bike that offers maximum power for climbing steep hills and rough terrain. You plan on riding challenging trails or mountainous areas that demand excellent braking and suspension. You prefer a bike with dual motors for the ultimate off-road performance. Choose the Alaska Pro if: You’re more focused on long-distance range with minimal worry about charging, ideal for commuters or extended trips. You need a bike with dual battery capability for maximum distance coverage. You want a versatile bike that can handle light off-roading and urban commuting with comfort and efficiency. Conclusion: Choosing between the Alaska Pro M-520 and Warrior Pro M-530 depends on what you value most: power and performance or range and comfort. If you're an adventure seeker looking for a bike that can handle steep inclines and challenging terrain, the M-530 with its dual motors and advanced suspension is the clear winner. However, if you’re a long-distance rider who needs a bike that can go the extra mile without worrying about battery life, the Alaska Pro with its dual battery system and adjustable suspension will meet your needs. Whichever model you choose, both the Alaska Pro and Warrior Pro are built to provide you with a reliable, high-performance ride—designed to keep you moving forward, wherever the trail takes you.
Read More
Alaska M-520 Electric Mountain Bike Comprehensive Guide
Apr 18, 2025 09:00
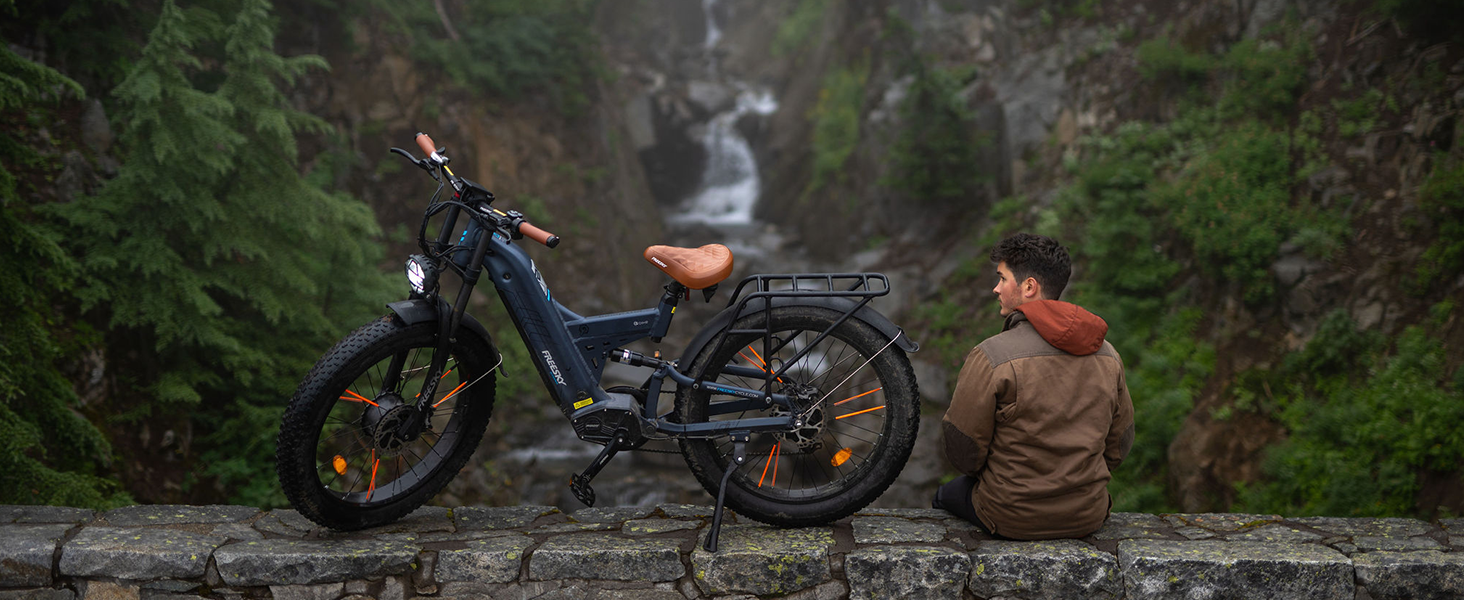
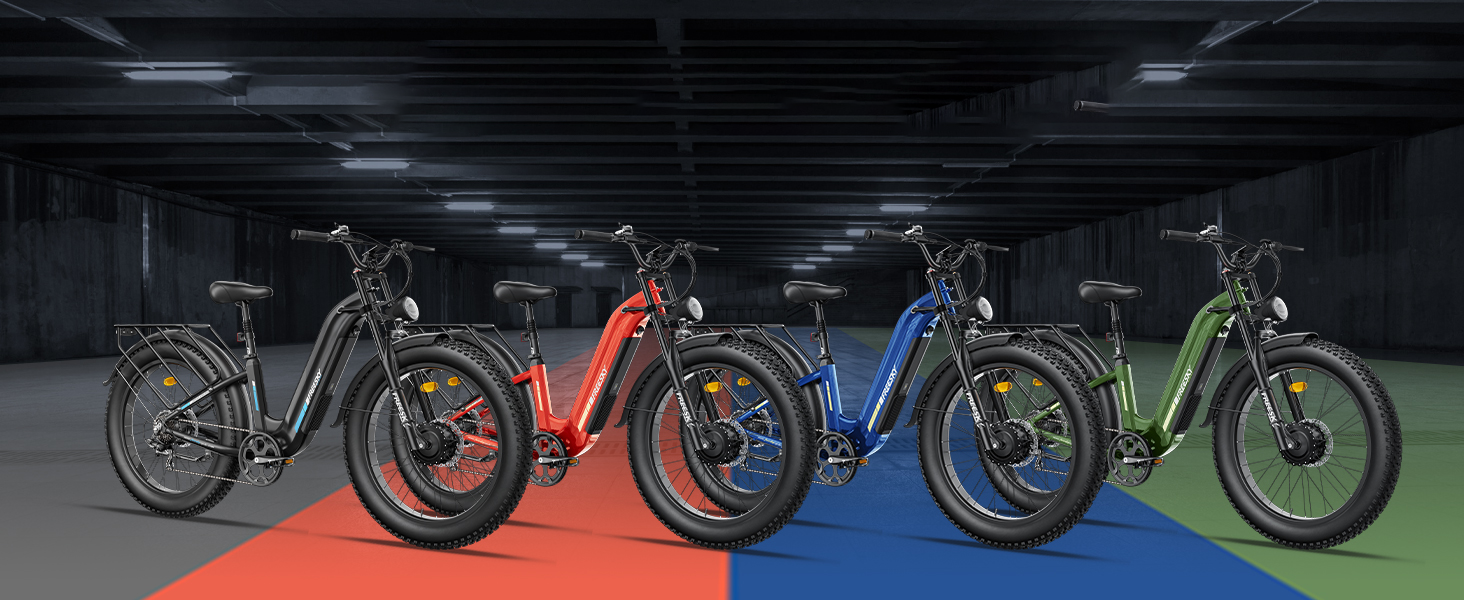
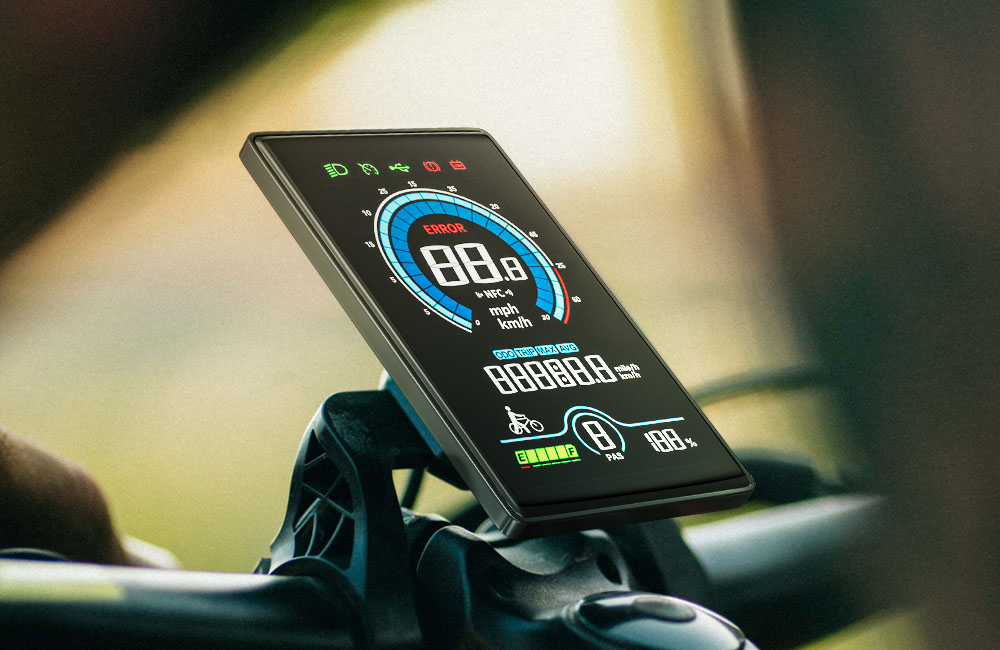
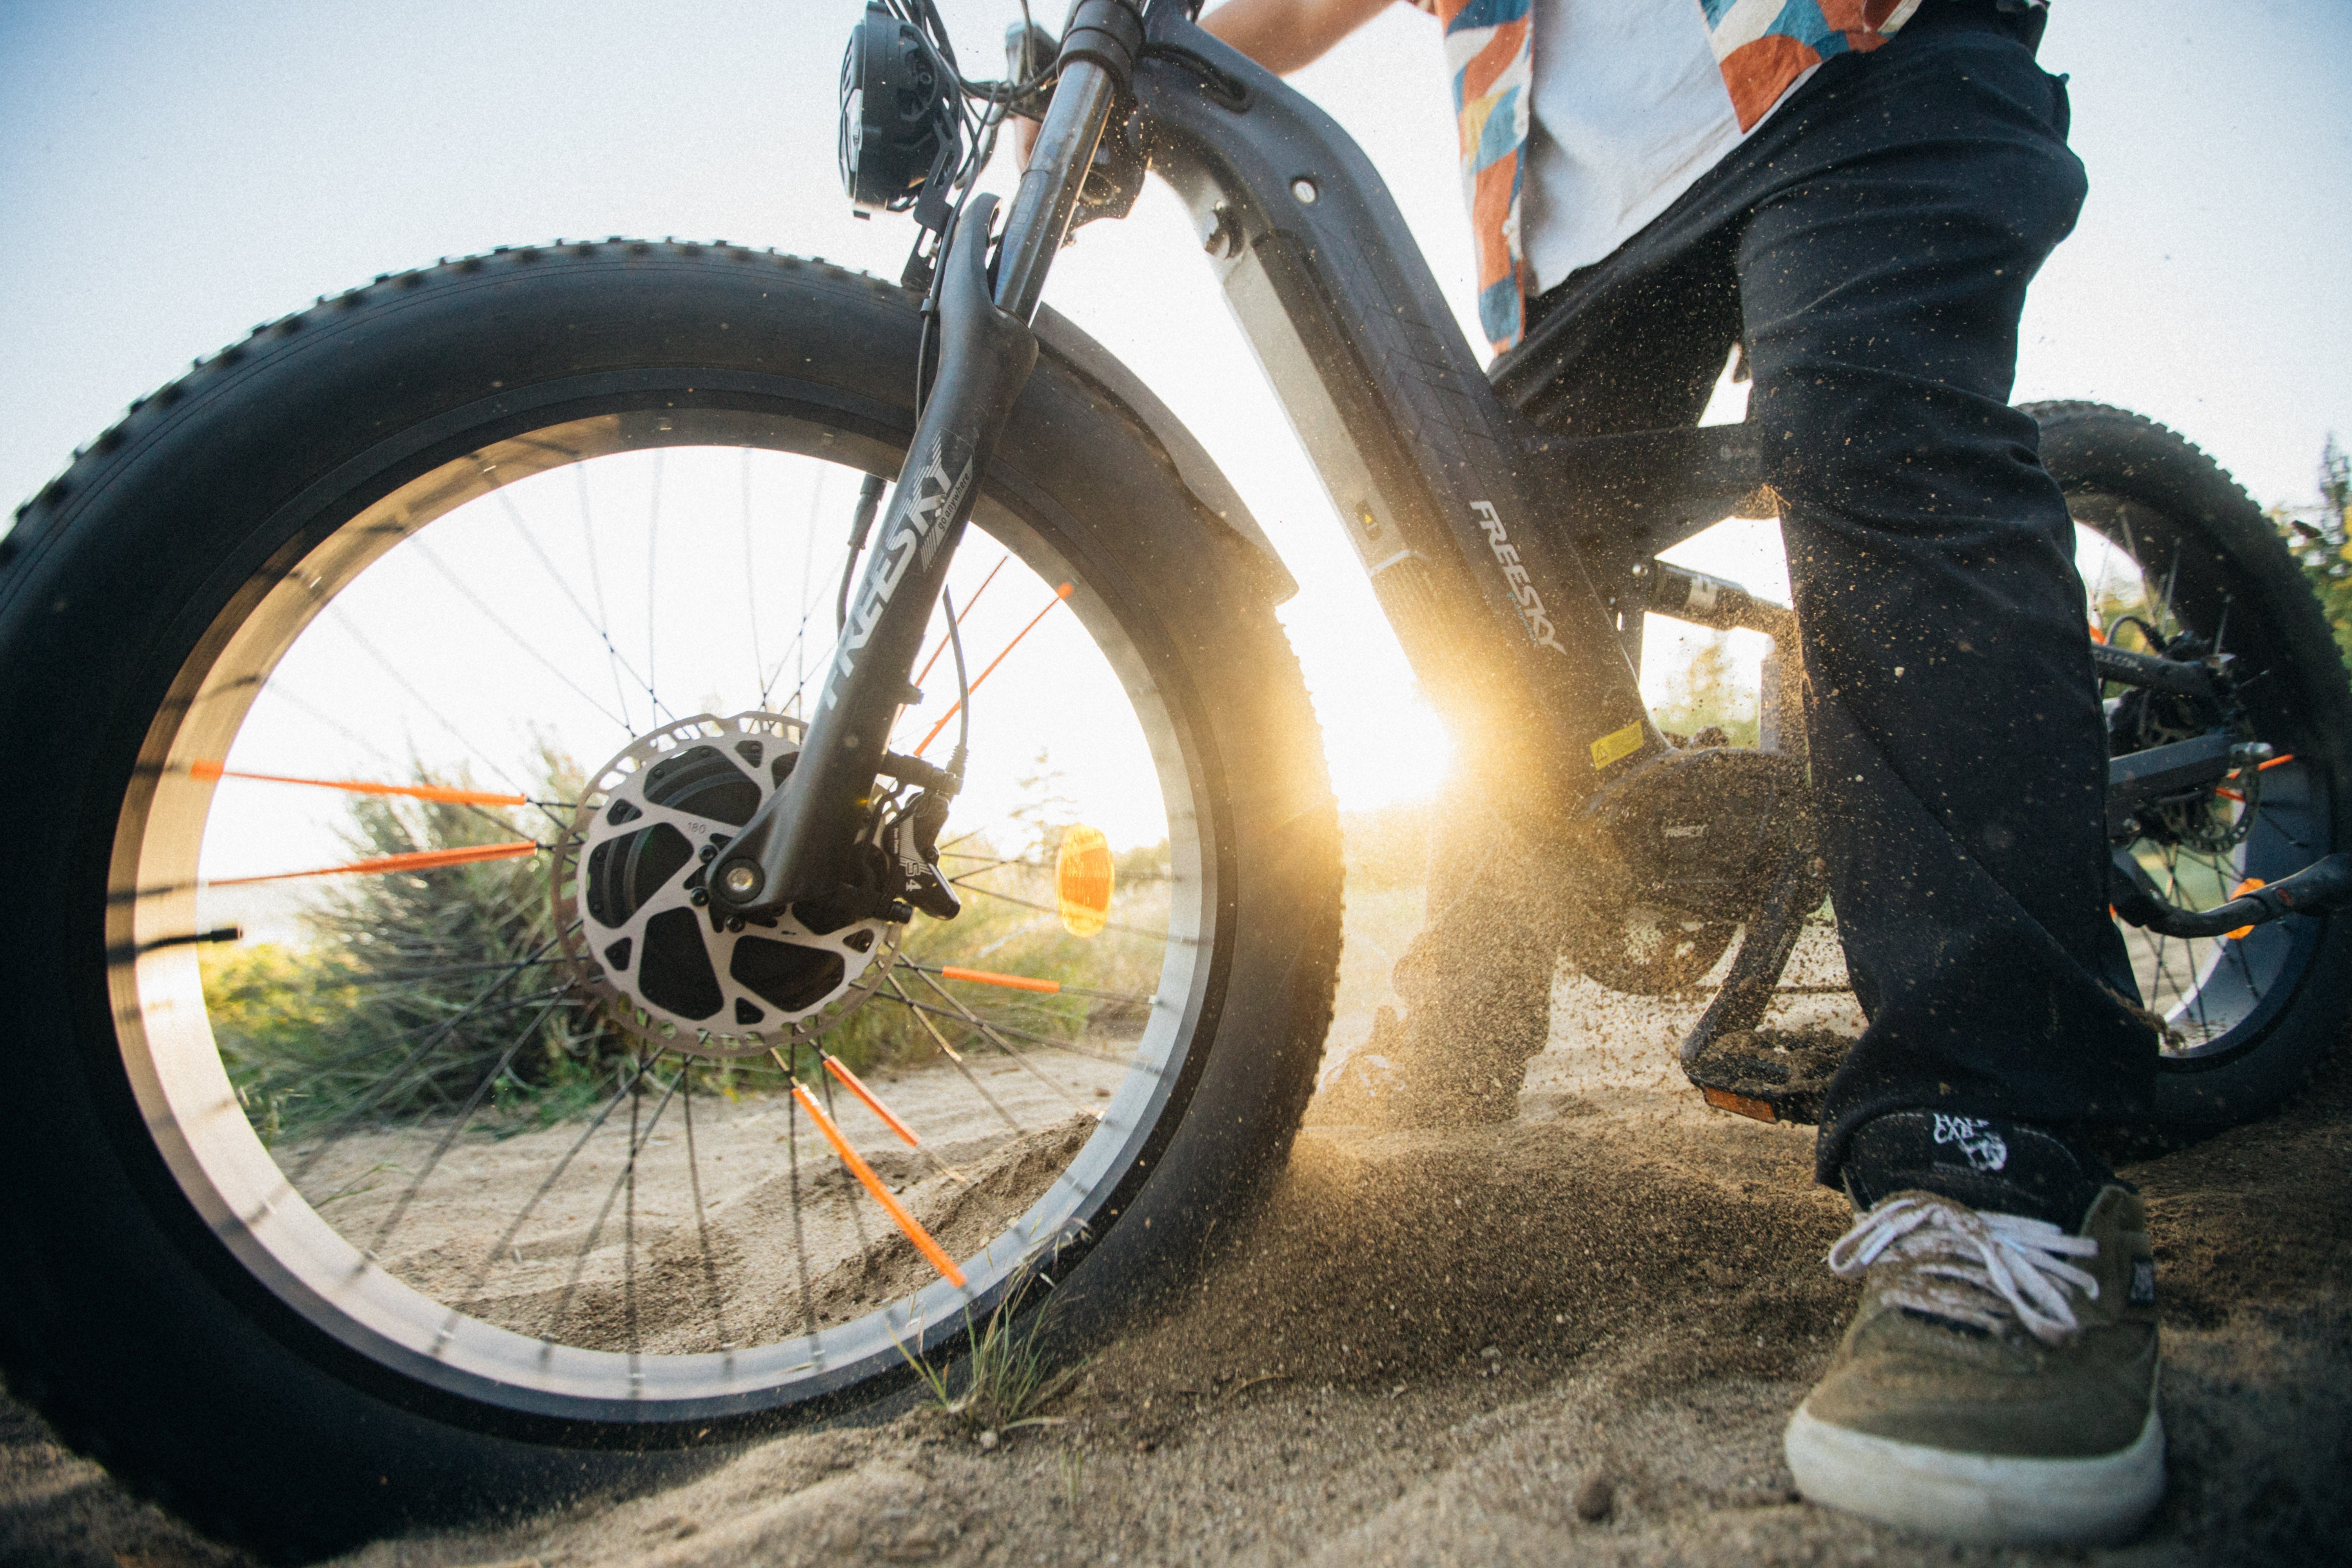
The Ultimate Choice for Off-Road AdventuresStep into the wild and dominate any terrain with the Alaska M-520, designed for peak performance and unmatched versatility. Equipped with dual batteries, the Alaska M-520 ensures long-lasting power for extended journeys. Whether you're traversing mountain trails, gliding over sandy beaches, or tackling city streets, this e-bike offers unparalleled performance and reliability. It’s the ultimate choice for outdoor enthusiasts who seek a bike that can handle it all, making every ride an adventure. Go Anywhere with AlaskaThe Alaska M-520 is engineered to handle diverse terrains with ease. From city roads to rugged trails and everything in between, this e-bike excels in every environment. Whether you're riding through urban landscapes, exploring dense forests, or climbing mountain paths, the Alaska M-520’s robust design and powerful motor provide the strength and durability you need. It's a perfect companion for long-distance riders and those who demand versatility from their e-bike. The Upgrade Dual Battery 48V 41AhGo the Distance with Dual EnergyWith dual removable batteries—18Ah on top and 23Ah below—the Alaska M-520 ensures you can go the distance. The advanced battery system delivers a remarkable range of 144-257 kilometers on a single 6-8 hour charge, depending on the terrain and power assist level. This makes the Alaska M-520 the ideal choice for long-distance riders, daily commuters, and outdoor adventurers who need reliable power for extended rides. Powerful Motor for High PerformanceRide Fast, Ride FearlessThe Alaska M-520 is powered by a high-performance motor that offers 130 N·m of torque, ensuring smooth acceleration and the ability to tackle steep hills with ease. Whether you're conquering challenging mountain paths, racing along sandy shores, or gliding over gravel trails, the Alaska M-520 provides the power you need to explore without limits. Its motor optimizes energy efficiency, helping to extend your ride while delivering consistent, reliable power across all terrains. Dual Suspension & Hydraulic Disc BrakesSmooth Rides and Safe StopsComfort and safety are key features of the Alaska M-520. Equipped with a lockable, adjustable front suspension hydraulic downhill fork and rear suspension, this e-bike ensures that you can ride for hours without feeling the impact of uneven terrains. The advanced suspension system absorbs shocks from bumpy roads, allowing for a smooth ride no matter where you go. The dual hydraulic disc brakes—on both front and rear wheels—offer powerful, responsive braking, ensuring you can stop safely even in the most challenging conditions. Smart LCD DisplayStay in control with the Alaska M-520's advanced LCD display. The smart display provides real-time feedback on key ride information, including your speed, remaining battery life, distance traveled, and the selected power assist mode. With five levels of pedal assist (PAS), you can easily adjust your ride to suit your needs, whether you prefer a relaxed cruise or a more intense workout. The display also includes key safety features like headlight status, making it easy to monitor your ride’s performance. UL2271 Certified BatterySafety is paramount, which is why the Alaska M-520 uses FREESKY’s UL2271 certified batteries. These batteries are rigorously tested to meet the highest safety standards, offering exceptional protection against both electrical and structural risks. The 41Ah(18Ah+23Ah) dual battery system allows you to cover impressive distances of up to 257 kilometers in pedal assist mode. Whether you're heading out for a long trail ride or commuting across town, you can trust that the Alaska M-520 will deliver consistent, reliable power. Thumb ThrottleFor easy acceleration, the Alaska M-520 is equipped with an ergonomically positioned thumb throttle. Simply press to unleash instant power and speed, allowing you to cruise effortlessly on flat terrain or boost up steep hills with minimal effort. This intuitive feature enhances the rider experience, giving you complete control over your speed. Rear Derailleur for Smooth ShiftingThe Alaska M-520 is equipped with a high-quality rear derailleur, ensuring that gear shifts are smooth and precise. Whether you’re climbing steep hills or cruising on flat roads, you can effortlessly change gears to maintain optimal performance. The reliable gear system ensures that you’re always prepared for any terrain. Rear SuspensionLong-distance rides are made more comfortable with the Alaska M-520’s rear suspension. Designed to absorb shocks from rough trails, it helps reduce strain on your body, ensuring that each ride is stable and comfortable. Whether you’re navigating rocky mountain paths or bumpy urban streets, the rear suspension will keep you in control. Front Suspension ForkThe adjustable front suspension fork is another key feature that enhances comfort and control. It minimizes vibrations and impacts, reducing fatigue on your arms and hands, even when riding over rough or uneven surfaces. This ensures that every ride, no matter the terrain, remains comfortable and under control. 4-Piston Hydraulic BrakesWhen it comes to safety, the Alaska M-520 doesn’t compromise. The 4-piston hydraulic disc brakes offer superior stopping power, making sure you can safely stop at a moment’s notice. Whether you’re riding downhill, through muddy trails, or on slippery surfaces, the brakes ensure smooth, controlled stopping power, giving you peace of mind during your adventures. Conclusion: A Versatile and Reliable Adventure BikeThe Alaska M-520 combines rugged performance, advanced technology, and exceptional comfort, making it the ultimate choice for off-road and urban riders alike. With its dual battery system, powerful motor, dual suspension, and high-end safety features, the Alaska M-520 ensures that every ride is smooth, safe, and exhilarating. If you're looking for a bike that can handle anything from mountain trails to city streets, the Alaska M-520 is your perfect companion. Ready to explore without limits? Take your adventure to the next level with the Alaska M-520. Check out the latest offer on the Alaska M-520! Alaska Pro M-520 Dual batteries, ultimate range performance.
Read More
Warrior Pro M-530 Electric Mountain Bike Comprehensive Guide
Apr 11, 2025 09:00
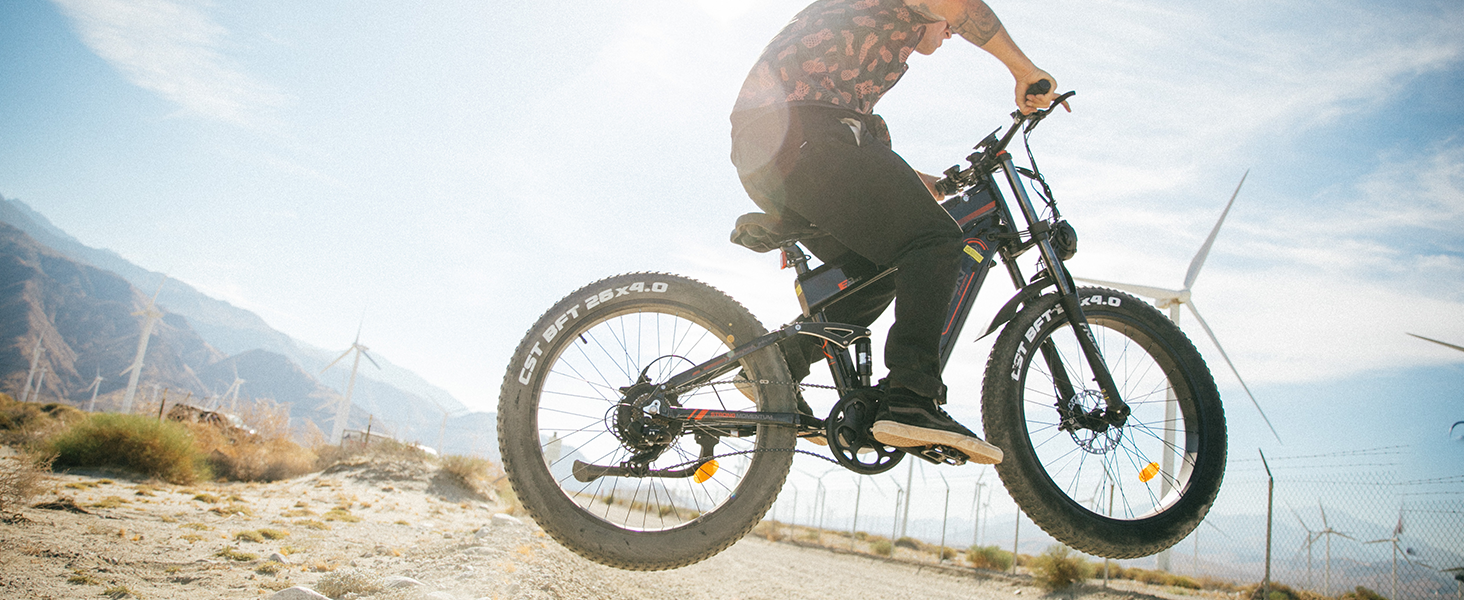
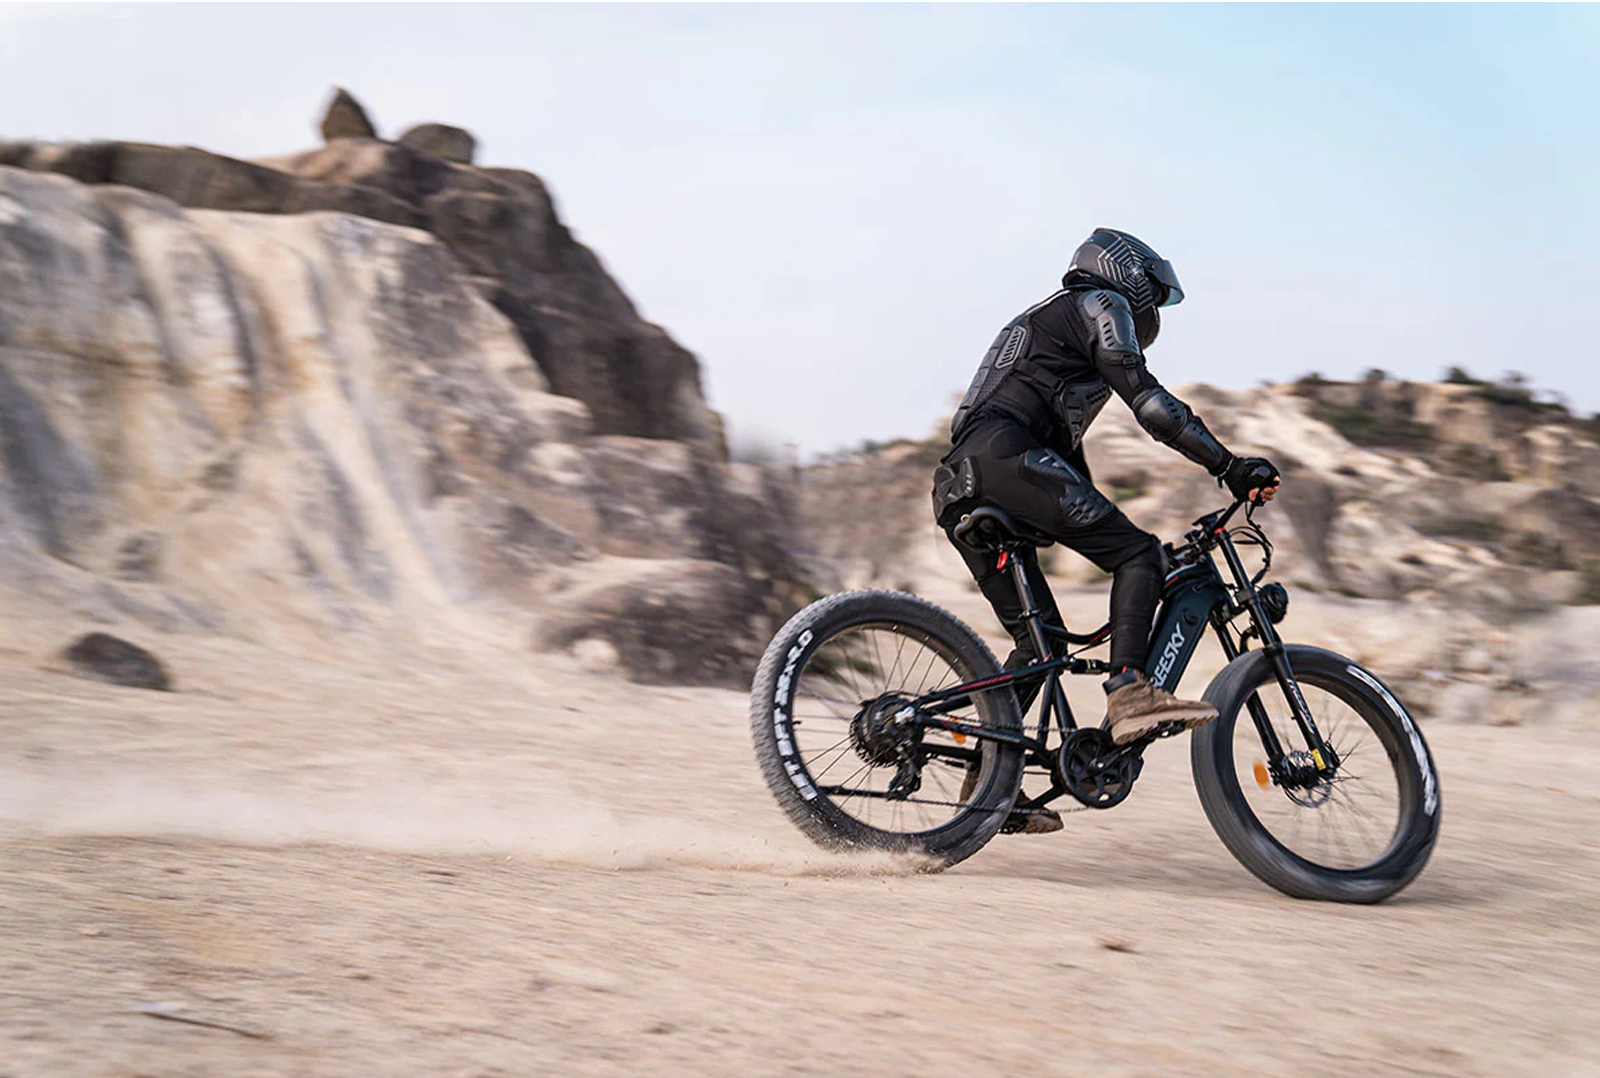
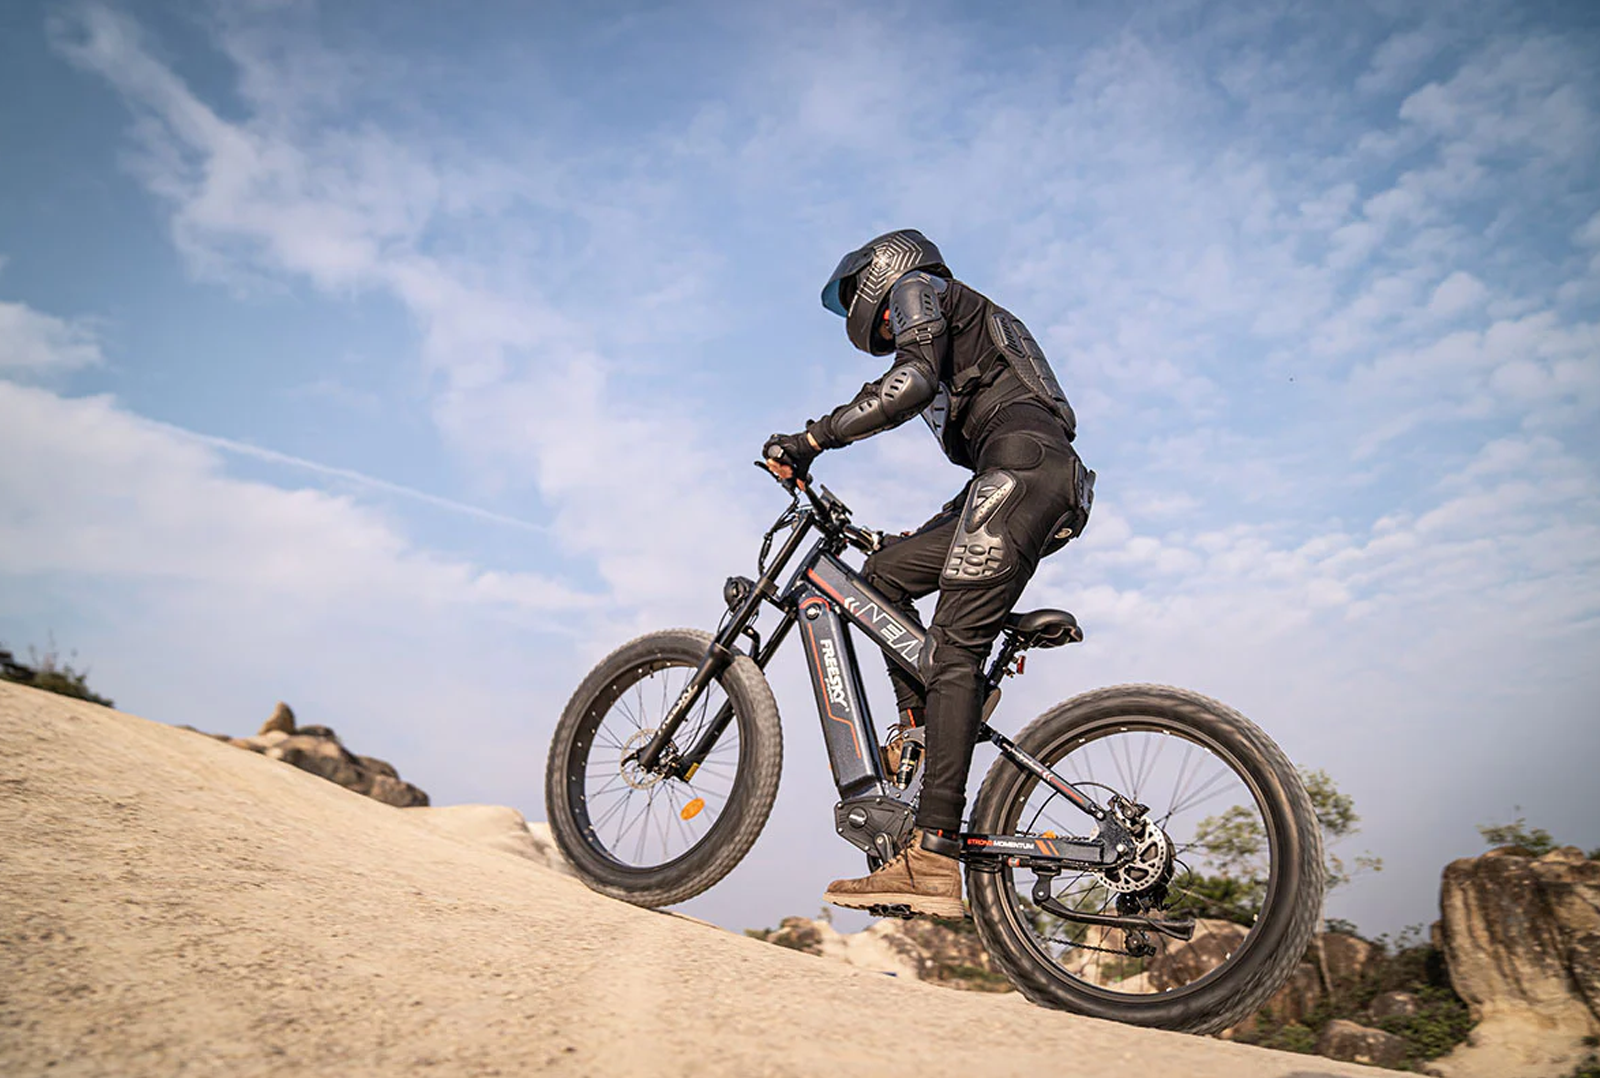
The Warrior Pro M-530 stands as a top-tier choice for adventurers seeking an e-mountain bike that offers the perfect combination of power, durability, and comfort. Engineered for rugged terrains and long-distance adventures, the Warrior Pro excels in both off-road challenges and city commuting. Whether you're exploring mountain trails or navigating city streets, this bike promises an unmatched experience, ensuring every ride is both thrilling and reliable. Designed for All-Terrain Conquerors The Warrior Pro M-530 excels in all environments, offering exceptional handling on a variety of terrains. From city roads to mountain trails and everything in between, this bike thrives where others struggle. Its powerful dual-motor system ensures smooth acceleration and consistent performance across the toughest surfaces, making it the perfect choice for those who demand versatility and reliability. Whether you're facing steep inclines, rocky paths, or sandy beaches, the Warrior Pro M-530 delivers a stable and exhilarating ride. Dual Motor Drive Mode: Double the Power, Double the Adventure Feel the power of dual hub motors in the front and rear wheels, each providing unmatched torque and smooth acceleration. With a combined torque of 200Nm, the Warrior Pro M-530 can easily conquer steep climbs, rough trails, and challenging off-road conditions. Thanks to the independently controlled motors, you have the flexibility to choose between single or dual motor mode, depending on your terrain and preference. This dynamic system ensures reduced motor strain, optimised energy efficiency, and a more enjoyable riding experience, whether you're tackling long-distance rides or steep uphill climbs. Dual Suspension for Maximum Comfort Equipped with a full suspension system, the Warrior Pro M-530 guarantees a smooth and comfortable ride, no matter the terrain. Featuring a lockable, adjustable front hydraulic downhill fork and rear suspension, this bike offers exceptional shock absorption. The result? Less impact from rough paths and a more stable ride. Whether you're navigating rocky trails or cruising through bumpy city streets, you’ll experience the comfort and control that comes with advanced suspension technology. Powerful and Reliable SAMSUNG 48V 30Ah Battery At the heart of the Warrior Pro M-530 lies its powerful 48V 30Ah SAMSUNG lithium battery, renowned for its durability and performance. The battery’s advanced BMS technology allows for a longer lifespan and more efficient energy management, ensuring you get the most out of every charge. With a full charge, you can enjoy a range of up to 96-152KM depending on motor usage and terrain. Whether you're cruising city streets or tackling rugged mountain trails, this battery will support long journeys without the need for frequent recharges. With just 10 hours of charging time, you can be ready for your next adventure in no time. Effortless Control with a Thumb Throttle The Warrior Pro M-530 is designed with rider comfort in mind. Its ergonomic thumb throttle ensures easy and natural control, allowing you to accelerate with minimal effort. Perfect for quick bursts of speed or maintaining a steady pace on flat terrain, this intuitive feature ensures that you’re always in charge of your ride. Precision and Performance with the Rear Derailleur Whether you're climbing hills or cruising down flat paths, the Warrior Pro M-530's rear derailleur offers smooth, precise shifting to ensure a smooth and efficient ride. With the ability to shift gears effortlessly, you’ll maintain optimal performance across all terrains. Whether you're navigating challenging mountain trails or commuting through the city, you’ll always have the control you need. Safety First: 4-Piston Hydraulic Brakes When it comes to safety, the Warrior Pro M-530 doesn't compromise. Equipped with 4-piston hydraulic brakes, this bike delivers exceptional stopping power, giving you confidence even in challenging conditions. Whether you're descending a steep hill or navigating through wet conditions, the Warrior Pro M-530 ensures quick, controlled stops for your safety. Built for the Future: Smart Features for the Modern Rider Stay connected and informed with the Warrior Pro M-530's advanced smart display. This cutting-edge system allows you to track your speed, battery level, and distance travelled, while providing easy access to intuitive settings. The NFC unlock feature adds an extra layer of convenience, letting you lock and unlock your bike with a simple tap. Conclusion: The Ultimate All-Terrain Adventure Bike The Warrior Pro M-530 is the epitome of power, performance, and versatility. With its dual-motor system, dual suspension, and cutting-edge technology, it’s the perfect companion for any adventure—whether you’re exploring challenging off-road trails or commuting through city streets. Thanks to its robust build, superior safety features, long-lasting battery, and exceptional range, the Warrior Pro M-530 ensures that every ride is a thrilling, comfortable, and efficient experience. Ready to explore without limits? Discover the Warrior Pro M-530 and elevate your riding experience to new heights.
Read More
Introducing the Ranger M-540 Dual Motor All Terrain E-mountain Bike: Power, Performance, and Affordability
Apr 04, 2025 09:00
In the world of electric mountain bikes, few can match the balance of power, durability, and value offered by the Ranger M-540 Dual Motor All Terrain E-mountain Bike. As a new addition to the FreeskyCycle 2025 lineup, this cutting-edge e-bike is designed to handle diverse terrains and bring a thrilling, reliable experience to riders of all levels. Whether you're exploring rugged trails or commuting through your local countryside, the Ranger M-540 delivers the performance you need, without the premium price tag. Power, Performance, and Unbeatable Value The Ranger M-540 is engineered to offer an exhilarating ride with its dual motor system, ensuring robust assistance on even the steepest hills. Its powerful design allows for seamless transitions, making it an ideal companion for adventurous riders seeking to conquer all types of terrain. Thanks to its combination of dual motors and smart power management, the Ranger M-540 guarantees smooth acceleration and impressive speeds, no matter the environment. Unmatched Range and Battery Efficiency One of the standout features of the Ranger M-540 is its impressive range. Equipped with a high-capacity battery, this e-bike can reach distances of up to 96km on dual motor power, and 152km when running on a single motor. Whether you're out for a day of mountain biking or need a reliable option for your daily commute, the Ranger M-540 ensures you won’t be left stranded with its long-lasting battery. Superior Suspension and Comfort The front suspension fork and fat tyres of the Ranger M-540 make it perfectly suited for off-road adventures. Designed to smooth out bumps and absorb shocks from uneven surfaces, the suspension ensures a comfortable ride, even on the roughest trails. Whether you're cruising through rocky paths or navigating through muddy terrain, the Ranger M-540 maintains stability and control, providing the comfort needed for long rides. Enhanced Safety and Braking Performance When it comes to riding on challenging trails, safety is paramount. The Ranger M-540 is equipped with hydraulic disc brakes, ensuring reliable stopping power even in tough conditions. This means whether you're speeding downhill or stopping suddenly on rocky ground, you can trust the Ranger M-540 to keep you in control. Built for Adventure and Flexibility Designed for versatility, the Ranger M-540 is ideal for a range of outdoor activities, from mountain biking to family excursions. It can be easily adapted with accessories like child seats and cargo racks, allowing you to bring along extra gear or transport young riders. The aluminium frame is lightweight yet durable, making it easy to handle, while the low-step design ensures easy mounting and dismounting for riders of all experience levels. A Stylish and Practical Solution for Everyday Riders The Ranger M-540 doesn’t just perform well; it looks great too. With a sleek, modern design, it blends functionality with style. Whether you're commuting in the city or exploring off-the-beaten-path, the Ranger M-540's sleek finish and practical features make it a standout choice. The clear display screen provides easy access to key information such as battery level, speed, and distance, helping you stay informed on every ride. Limited Edition: Don’t Miss Out! As part of the FREESKY 2025 collection, the Ranger M-540 is a newly released model with limited stock available. This makes it an exclusive opportunity for e-bike enthusiasts looking to get their hands on one of the most affordable dual motor e-mountain bikes available. If you're looking for a bike that combines cutting-edge technology, exceptional performance, and unbeatable value, the Ranger M-540 is the bike for you. Check out the latest offer on the Ranger M-540! Ranger M-540 Dual-Motor Step-thru All-terrain E-mountain Bike.
Read More
Start Your Electric Bike Without a Key: NFC Unlocking Made Easy
Apr 01, 2025 05:58
In the world of electric bikes, convenience and innovation go hand in hand. The Warrior eBike stands as a testament to this, offering riders not just a powerful and rugged ride, but also cutting-edge technology that makes your life easier. One of the standout features of the Freesky ebike is its NFC (Near Field Communication) unlocking capability, allowing you to start your bike without the hassle of a physical key. Let’s dive into how this feature works and why it’s a game-changer for eBike enthusiasts. What is NFC and How Does It Work? NFC technology allows devices to communicate wirelessly when they are close to each other, typically within a few centimeters. It’s the same technology used in contactless payment systems like Apple Pay or Google Wallet. In the case of the Warrior eBike, the NFC function is integrated into the bike's dashboard, enabling a seamless and secure way to unlock and start your bike. The Freedom of Keyless Riding Imagine this: You’re ready to hit the road, but instead of fumbling through your pockets or bag for a key, you simply tap your NFC-enabled device, like a smartphone or a card, on the bike's dashboard. In an instant, the Warrior eBike powers up, and you’re ready to ride. This keyless start feature not only saves you time but also adds an extra layer of security—only devices with the correct NFC chip can unlock the bike. Why Choose the Warrior eBike? The Warrior eBike isn't just about convenience. It's a powerful machine designed for those who seek adventure and reliability. With its robust build, high-torque motor, and long-lasting battery, the Warrior is ready to take on any challenge. Whether you’re commuting through the city or exploring off-road trails, the Warrior delivers an exceptional riding experience. The addition of NFC unlocking is the icing on the cake. It reflects the bike's commitment to blending technology with performance, ensuring that every ride is not just enjoyable but also effortless. Plus, you’ll never have to worry about losing your keys again. How to Set Up NFC Unlocking on Your eBike Getting started with the NFC unlocking feature on your eBike is straightforward: Activate NFC on Your Device: Ensure that your smartphone or NFC-enabled card is ready to use. Most modern smartphones come with built-in NFC functionality. Pair Your Device with the Bike: Follow the easy instructions provided in the Warrior eBike manual to pair your NFC device with the bike’s dashboard. This usually involves placing the device near the NFC reader and confirming the pairing. Unlock and Ride: Once paired, you can start your bike anytime by simply tapping your device on the dashboard. It’s that easy! The Freesky ebike eBike is a perfect blend of power, durability, and smart technology. The NFC unlocking feature is just one of the many reasons why this bike stands out in the crowded electric bike market. It offers riders the freedom of keyless riding, enhancing the overall experience and making every journey more enjoyable. If you’re looking for an eBike that’s not just about getting from point A to point B but also about embracing the future of riding, Freesky ebike is your go-to choice. Ready to experience the future of eBiking? Hop on a Freesky ebike and ride key-free into your next adventure!
Read More
Are Full Suspension Bikes Harder to Pedal?
Mar 21, 2025 04:38
The question of whether full suspension bikes are harder to pedal than their hardtail counterparts is often debated among cyclists, especially those who are considering upgrading their bicycles or making a switch from one type to another. The answer to this question is not straightforward as it involves several factors that can influence the pedaling effort required on a full suspension bike. In this article, we will explore the factors that may affect the pedaling difficulty on full suspension bikes and compare them with hardtail bikes to provide a comprehensive understanding of the issue. First and foremost, it's important to understand the basic differences between full suspension and hardtail bikes. Full suspension bikes feature a suspension system at both the front and rear, designed to absorb impacts and vibrations from the trail, providing a smoother ride. On the other hand, hardtail bikes have a rigid frame, with only the front fork usually equipped with suspension. This fundamental difference in design impacts the pedaling characteristics of each bike type. One of the main concerns about full suspension bikes is the added weight of the suspension system. This additional weight can indeed make pedaling slightly more challenging, especially when climbing steep hills or accelerating from a standstill. The heavier bike requires more effort to move, and the suspension components themselves can introduce some drag due to their internal friction. However, it's worth noting that modern full suspension bikes have made significant advancements in weight reduction and efficiency, minimizing this impact. Another factor that can affect pedaling difficulty on full suspension bikes is the suspension's adjustment and settings. If the suspension is set too soft, it can bob excessively when pedaling, reducing efficiency and causing the rider to expend more energy. Conversely, if the suspension is set too stiff, it may not provide the desired shock absorption, leading to a less comfortable ride but not necessarily making pedaling harder. Finding the right balance in suspension settings is crucial to optimize both comfort and pedaling efficiency. In addition to weight and suspension settings, the geometry of full suspension bikes can also play a role in pedaling difficulty. Full suspension bikes often have a slacker head angle and a longer wheelbase to accommodate the suspension's movement. This geometry can affect the bike's handling and responsiveness, which in turn can influence pedaling feel. However, modern full suspension bikes are designed to minimize these effects and provide a balanced ride that is both comfortable and efficient. On the other hand, hardtail bikes offer a more direct and responsive ride due to their rigid frame. The lack of rear suspension means that the power from the rider's legs is transferred more efficiently to the rear wheel, potentially making pedaling feel easier. Hardtail bikes are often lighter, which can further enhance pedaling performance. However, the lack of shock absorption can make riding on rough terrain less comfortable, potentially leading to fatigue over longer rides. It's worth mentioning that the difficulty of pedaling a full suspension bike can also be influenced by the rider's technique and fitness level. Riders who are used to hardtail bikes may need to adjust their pedaling style to account for the different characteristics of full suspension bikes. Additionally, a fitter and stronger rider may find it easier to overcome the additional challenges posed by a heavier bike or more complex suspension system. In conclusion, the question of whether full suspension bikes are harder to pedal is not a straightforward yes or no answer. The difficulty of pedaling a full suspension bike depends on a variety of factors, including the bike's weight, suspension settings, geometry, as well as the rider's technique and fitness level. While full suspension bikes may require slightly more effort to pedal due to their added weight and complex suspension system, they offer superior comfort and shock absorption on rough terrain, making them a worthwhile choice for many riders. Riders should consider their personal preferences, riding style, and the type of terrain they ride on when making a decision between a full suspension bike and a hardtail. With the right setup and technique, both types of bikes can provide an enjoyable and efficient riding experience.
Read More
Avoid Costly Replacements: How Long Do Ebike Brake Pads Really Last?
Mar 17, 2025 10:55
When it comes to electric bikes, one of the key components that require regular attention is the brake system. Unlike traditional bikes, ebikes are often heavier and faster, which puts more strain on their brake pads. So, how long do ebike brake pads last? The answer depends on various factors, including the type of brake system, riding habits, and maintenance. We'll explore the different aspects that affect the longevity of ebike brake pads and offer tips for extending their lifespan. Factors That Affect Brake Pad Lifespan Type of Brakes: Mechanical vs. Hydraulic Ebikes typically use one of two types of brakes: mechanical disc brakes or hydraulic disc brakes. Mechanical disc brakes rely on cable tension to operate, while hydraulic brakes use fluid pressure for smoother and more consistent braking. Hydraulic brakes are generally more efficient, causing less wear on the brake pads. However, both systems will eventually require pad replacement based on how frequently and aggressively you brake. Riding Conditions Terrain plays a huge role in how long your brake pads last. Riding on flat, smooth roads won’t wear out your brake pads as quickly as riding on steep hills or off-road trails. If you’re frequently braking while going downhill or stopping suddenly in traffic, expect your brake pads to wear out faster. Weight and Speed of the Ebike Ebikes are generally heavier than regular bicycles, and the motor allows for higher speeds. This added weight and speed put more stress on the brakes, which leads to faster wear on the brake pads. Additionally, if you often ride with extra cargo or a passenger, this can further accelerate wear. Frequency of Use If you're an everyday commuter or regularly use your ebike for long-distance rides, your brake pads will naturally wear out faster than if you're a casual weekend rider. High mileage over time leads to more frequent pad replacements. Brake Pad Material The material of your brake pads can also influence how long they last. Organic brake pads are softer and quieter but wear out quicker, while sintered (metallic) pads are more durable but can be noisier and harsher on your brake rotors. Choosing the right brake pad material for your riding style is key to maximizing their lifespan. How Long Do Ebike Brake Pads Typically Last? On average, ebike brake pads last between 500 to 1,500 miles (800 to 2,400 kilometers). However, this range can vary significantly based on the factors mentioned earlier. Casual riders who stick to flat, smooth roads may see their brake pads last closer to 1,500 miles, while aggressive riders or those who frequently tackle hills may need replacements after 500 miles or less. Signs Your Ebike Brake Pads Need Replacing Squeaking or Squealing: Unusual noises when you brake can be a sign that your pads are wearing thin. Reduced Braking Power: If it takes longer to stop, or your brakes feel less responsive, it’s time to check the pads. Visual Inspection: Many ebike brake pads come with a wear indicator. If you see that the pads are less than 3mm thick, it’s time for a replacement. Brake Dust Buildup: Excessive brake dust around your wheels can indicate that your pads are degrading faster than normal. How to Extend the Life of Your Ebike Brake Pads Proper Braking Technique Avoid sudden, hard braking whenever possible. Instead, brake gently and gradually to reduce strain on the brake pads. By practicing smooth braking, you can extend the life of your pads and reduce wear on the rest of your braking system. Regular Maintenance Keeping your ebike’s brakes in good condition can prolong the life of the pads. Check your brake fluid levels (if using hydraulic brakes), clean the brake rotors regularly, and ensure that the calipers are correctly aligned. Invest in High-Quality Pads While organic pads may be quieter and offer a softer feel, investing in more durable materials like sintered brake pads can significantly increase their lifespan, especially if you ride in tough conditions. Brake Pad Rotation In some cases, you can rotate the front and rear brake pads to even out wear, especially since the rear brake typically experiences less wear than the front. This tactic can buy you more time before needing a full replacement. Ebike brake pads are one of the most critical safety components on your bike, and keeping them in top condition should be a priority. While brake pad lifespan varies based on factors like riding conditions, weight, and the type of brakes you use, following proper braking techniques and regular maintenance can help you maximize their lifespan. By being proactive and monitoring signs like squeaking or reduced braking power, you’ll know when it’s time for a brake pad replacement. After all, investing in good-quality pads and taking care of them not only saves money in the long run but ensures you have a safer, more reliable ride.
Read More
Can E-bikes Go Up Steep Hills? Exploring the Capabilities and Challenges
Mar 14, 2025 10:58
In the modern era of environmental consciousness and technological advancements, electric bikes, commonly known as e-bikes, have emerged as a popular mode of transportation. Their versatility, ease of use, and relative affordability have made them a favorite among commuters, fitness enthusiasts, and casual riders alike. However, the question remains: can e-bikes effectively conquer steep hills? This article aims to delve into this inquiry, examining the capabilities of e-bikes, the challenges they face on inclines, and the factors that influence their performance. To understand the ability of e-bikes to climb steep hills, it's essential to first grasp the fundamental principles behind their operation. E-bikes are equipped with an electric motor that provides additional power to the rider, either through a throttle or by assisting with pedal power. This motor is powered by a rechargeable battery, which determines the range and duration of the bike's electric assistance. The amount of power delivered by the motor can vary depending on the model and settings, ranging from a subtle boost to a significant push. When ascending a steep hill, the e-bike's motor must overcome the increased resistance caused by gravity. The steeper the incline, the greater the force required to ascend it. The performance of the e-bike on hills is influenced by several key factors, including the power of the motor, the capacity of the battery, the weight of the bike and rider, the gearing system, and the type of terrain. The power of the motor is a crucial determinant. High-powered motors are better equipped to handle steep inclines, providing sufficient torque to overcome the resistance. However, powerful motors also tend to consume more battery power, limiting the range of the bike. Conversely, lower-powered motors may struggle on steeper hills, especially when carrying heavier loads. The capacity of the battery is another essential factor. A larger battery can store more energy, allowing for longer periods of electric assistance. This is particularly important when climbing hills, as the motor may need to work harder and draw more power from the battery. Riders who frequently encounter steep hills may benefit from investing in a bike with a larger battery capacity. The weight of the bike and rider also plays a role. A heavier bike and rider require more energy to move, putting additional strain on the motor and battery. Lightweight e-bikes may have an advantage on hills, as they require less power to propel. The gearing system of the e-bike can also affect its hill-climbing capabilities. Similar to traditional bicycles, e-bikes often have multiple gears that allow riders to adjust the resistance when pedaling. Lower gears provide easier pedaling but slower speeds, while higher gears offer faster speeds but require more effort. Riders ascending hills may find it beneficial to shift to lower gears, reducing the amount of work required to pedal and relying more on the motor's assistance. Terrain conditions can also influence the performance of e-bikes on hills. Loose soil, gravel, or slippery surfaces can reduce traction and make climbing more challenging. Riders should be aware of the conditions they are riding in and adjust their approach accordingly, such as reducing speed or taking alternative routes. Despite these challenges, e-bikes are capable of climbing steep hills with varying degrees of success. The key is to choose a bike that is suitable for the rider's needs and the terrain they encounter. Riders may need to experiment with different settings and techniques to find the optimal balance between motor assistance and pedal power. Additionally, regular maintenance and proper care of the e-bike, such as keeping the battery charged and the motor clean, can help ensure optimal performance. It's worth noting that not all e-bikes are designed for off-road or steep hill climbing. Some models are specifically tailored for urban commuting or casual riding on flat terrain. Riders interested in conquering steep hills should research and compare different models to find one that is suitable for their intended use. In conclusion, the ability of e-bikes to climb steep hills depends on a variety of factors, including the power of the motor, the capacity of the battery, the weight of the bike and rider, the gearing system, and the terrain conditions. With careful selection and proper usage, e-bikes can be a viable option for riders who need to ascend steep inclines. However, riders should be aware of the limitations of their bike and adjust their approach accordingly to ensure a safe and enjoyable ride.
Read More
How to Maintain Your E-Bike
Mar 10, 2025 10:57
Owning an e-bike is a great way to enjoy eco-friendly transportation, explore the outdoors, and stay active. To ensure your e-bike remains in top condition and delivers the best performance, regular maintenance and proper care are essential. Here are some tips on how to maintain and care for your e-bike: 1. Keep It Clean Regular cleaning is crucial to keep your e-bike in good shape. Dirt, dust, and grime can accumulate on the bike, affecting its performance and longevity. Here's how to clean your e-bike properly: Use a mild detergent and water: Avoid using high-pressure washers as they can damage electrical components. Wipe down the frame: Use a soft cloth to wipe down the frame and other components. Clean the drivetrain: Use a brush and degreaser to clean the chain, gears, and derailleurs. 2. Battery Care The battery is the heart of your e-bike, and taking care of it is essential for optimal performance and longevity. Charge regularly: Don’t let the battery fully discharge before recharging. Keep it between 20% and 80% charge. Store properly: If not using the bike for an extended period, store the battery in a cool, dry place and charge it to around 50%. Avoid extreme temperatures: Both high and low temperatures can damage the battery. Store and charge the battery in a temperature-controlled environment. 3. Tire Maintenance Proper tire maintenance ensures a smooth and safe ride. Check tire pressure: Regularly check and maintain the recommended tire pressure. Under-inflated tires can reduce range and cause flats. Inspect for damage: Look for cuts, punctures, or any signs of wear and tear. Replace tires if necessary. Align the wheels: Ensure that the wheels are properly aligned to avoid uneven wear and improve handling. 4. Brake Maintenance Good brakes are crucial for safety. Inspect brake pads: Regularly check brake pads for wear and replace them when they are thin. Adjust brake cables: Ensure that brake cables are tight and responsive. Adjust or replace them if they feel loose. Clean brake discs: Keep the brake discs clean and free from oil or dirt to ensure effective braking. 5. Lubricate Moving Parts Lubrication is key to keeping your e-bike running smoothly. Chain lubrication: Regularly apply a suitable bicycle chain lubricant to keep the chain running smoothly. Pivot points: Lubricate the pivot points of the derailleurs and other moving parts to reduce friction and wear. Avoid over-lubrication: Excessive lubrication can attract dirt and cause more harm than good. Wipe off any excess lubricant after application. 6. Regular Check-Ups Even with regular maintenance, it's essential to have your e-bike checked by a professional periodically. Annual service: Take your e-bike to a professional for a comprehensive service at least once a year. Software updates: If your e-bike has electronic components that require software updates, ensure they are up-to-date for optimal performance. 7. Proper Storage Storing your e-bike properly can prevent unnecessary wear and tear. Indoor storage: Store your e-bike indoors to protect it from the elements. Use a bike cover: If you must store your e-bike outside, use a bike cover to protect it from rain, dust, and UV rays. Secure storage: Always lock your e-bike securely to prevent theft. Conclusion Regular maintenance and proper care can significantly extend the lifespan of your e-bike and ensure a safe and enjoyable riding experience. By following these tips, you can keep your e-bike in top condition and ready for all your adventures. Happy riding!
Read More